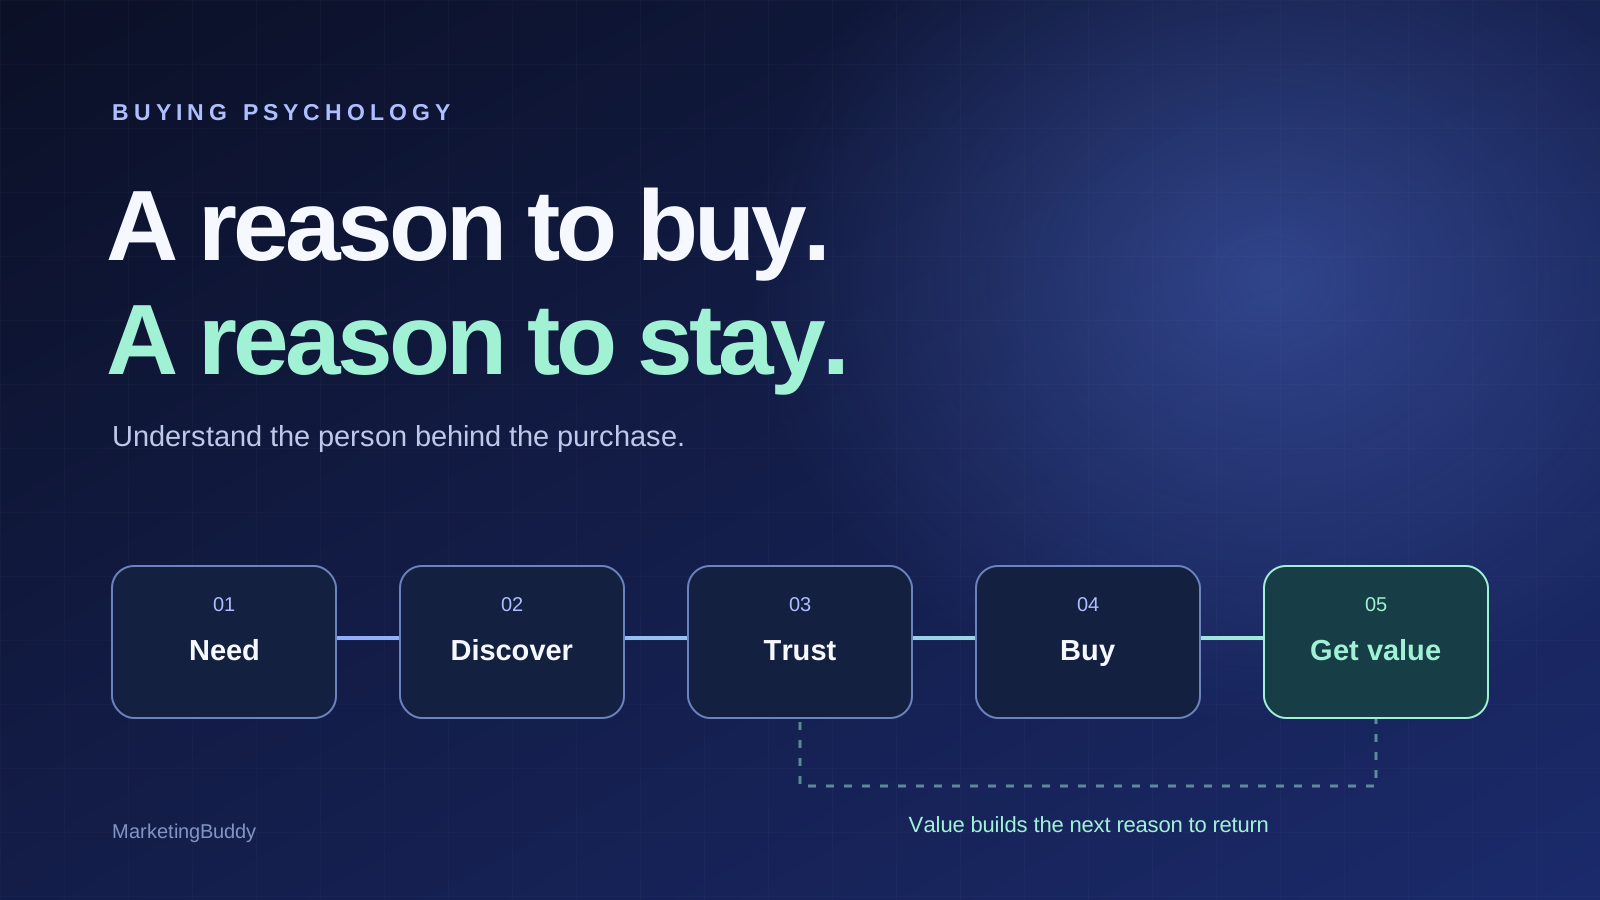
The startup checklist: from LLC to your first ad, and how to find where your customers are
Everything a new business needs set up, in the order to do it. Company, bank and payments, domain and email, social accounts, Google Analytics, Search Console, the Meta pixel, Google and Meta ad accounts, and the part most beginners skip, finding where your paying customers actually spend their time.
Starting a business comes with a hundred small setup jobs, and nobody hands you the list. So founders do them out of order: they run ads before tracking works, open five social accounts and post on none, or mix business and personal money until tax time turns into a week of digging through statements.
This is the list, in the order that saves you rework. Tick things off as you go. Most of it is free, and you can get through the whole thing in two or three focused weeks.
The order matters more than any single item:
- Make it a real business (company, bank, books)
- Get paid (payments, refunds, tax)
- Build your online home (domain, email, website, legal pages)
- Claim your social accounts
- Set up measurement (Google Analytics, Search Console, pixels, UTMs)
- Find where your customers are
- Open your ad accounts (Google Ads, Meta Ads)
- Start your email list
- Keep a weekly hour
A quick note: this is a practical guide, not legal or tax advice. Rules differ by country and state, and the US details below change from time to time. When something involves taxes or contracts, check the official source or ask an accountant.
1. Make it a real business
Check the name before you fall in love with it
- Search your country's trademark database (in the US, USPTO trademark search) for the name in your industry.
- Check the
.com(or your country's domain) is available, or that you can live with a variation. - Check the same handle is free on the social networks you care about. Namechk checks dozens at once.
Ten minutes here saves you a rebrand later.
Form the company
For most small US businesses, an LLC is the simple choice: it separates your personal assets from the business and is cheap to run.
- Pick a state. Usually your home state. Delaware or Wyoming only pay off in specific cases: a Delaware C-corp is what venture investors expect if you plan to raise money; for a small business run from home, forming elsewhere often means paying for two states.
- File the articles of organization with the state's Secretary of State website. You can do this yourself; you don't need a formation service.
- Choose a registered agent, the address that receives legal mail. You can be your own in your home state, or pay a service (roughly $50 to $300 a year) to keep your home address off public records.
- Write an operating agreement, even if you are the only owner. Banks often ask for it, and it's what proves the business is separate from you.
- Get an EIN (employer identification number) from the IRS website. It's free and takes minutes. Ignore sites that charge for it.
- Check the beneficial ownership (BOI) rules on FinCEN's site. Since March 2025, companies formed in the US are exempt, but foreign companies registered to do business in the US still have to report, and the rules have changed more than once.
- Put the yearly deadlines in your calendar: the state's annual report or franchise tax, and the registered agent renewal. A missed annual report can get your LLC dissolved.
Founders outside the US can form a US company remotely through services such as Stripe Atlas, Firstbase or doola, which bundle the company, EIN and bank introduction. If you sell mainly in your own country, a local company (a UK Ltd through Companies House, for example) is usually simpler.
Separate the money
- Open a business bank account in the company's name (Mercury, Relay, or your own bank). Never pay business costs from your personal account: mixing money is the classic way to weaken the protection an LLC gives you.
- Get a business card for subscriptions and ad spend, so every business charge lands in one place.
- Set up bookkeeping from day one: QuickBooks, Xero or Wave, connected to the bank account. Snap receipts as you go.
- Set money aside for tax. A separate savings account and a fixed percentage of every payout is the easiest habit.
- Check local licenses: some cities and counties want a general business license, even for an online business.
2. Get paid
Pick how you take money
| You sell | Good starting point | Why |
|---|---|---|
| Software or subscriptions | Stripe | Checkout, subscriptions, customer portal and invoices in one |
| Digital products sold worldwide | A merchant of record: Paddle or Lemon Squeezy | They collect and pay sales tax and VAT for you, for a higher fee |
| Physical products | Shopify Payments, or WooCommerce with Stripe | Built into the store, with shipping and inventory |
| A mobile app | Apple and Google in-app purchases, with RevenueCat | Required for digital purchases inside most apps |
| Services and invoices | Stripe invoices, or your accounting tool | Clients pay by link; the books update themselves |
Then, whichever you picked:
- Make a real purchase end to end with your own card, then refund it. Check the receipt email, the bank payout and the refund all work.
- Set a recognizable statement descriptor (what appears on the customer's card statement). People dispute charges they don't recognize.
- Turn on the customer portal so customers can update their card and cancel without emailing you. In Stripe, turn on cancellation reasons too: every cancel then comes with a why.
- Turn on failed-payment recovery (Stripe's Smart Retries and card-update emails). Expired cards quietly cost subscription businesses a surprising share of revenue.
- Write a refund policy and link it from checkout.
- Sort out sales tax and VAT. Selling to other states and countries can create tax obligations once you pass their thresholds. Stripe Tax can calculate and track this; a merchant of record handles it for you.
3. Build your online home
Domain and email
- Register the domain with a registrar you trust (Cloudflare, Namecheap, Porkbun), turn on auto-renew and two-factor sign-in. A lapsed domain takes your website and your email down at once.
- Set up email on your domain with Google Workspace or Microsoft 365.
you@yourbrand.comgets opened;yourbrand2026@gmail.comgets ignored. - Add SPF, DKIM and DMARC records for your domain. Gmail and Yahoo require them for anyone sending in volume, and without them even your one-to-one emails land in spam. Your email provider's setup guide gives you the exact records.
- Make shared addresses:
hello@orsupport@for customers, so you aren't giving everyone your personal inbox.
The website
You don't need a big site. You need a few pages that do their job:
- A homepage headline that says who it's for and what they get, not what the product is made of. "Bookkeeping for Etsy sellers, done in 10 minutes a week" beats "AI-powered financial platform".
- One main button (start a trial, buy, book a call) repeated down the page.
- A pricing page. Hiding prices costs more buyers than it filters.
- Proof: a few testimonials, logos, numbers or screenshots of real results, as soon as you have them.
- A contact page with a real email address.
- Check it on your phone. Most visits from social and ads are on mobile. If it's slow or the button is below three screens of text, fix that first.
Legal pages
- Privacy policy: what you collect, which tools receive it (analytics, ads, email, payments), and how people can ask for deletion.
- Terms of service.
- A cookie consent banner if you have visitors from the EU or UK and run analytics or ad pixels. In those regions, tracking needs consent before it starts.
- Refund policy (from step 2), linked in the footer.
4. Claim your social accounts
Grab the names everywhere
- Register the same handle on Instagram, Facebook (a Page), X, LinkedIn (a Company Page), TikTok, YouTube and Threads. Add Pinterest if what you sell is visual, and a Reddit account if your buyers hang out there.
- Sign up with your company email, not a personal one, and store every password in a password manager.
- Turn on two-factor sign-in everywhere, and add a second admin to the Facebook Page and LinkedIn Page. Getting locked out of a business account with no backup admin is one of the most common, and slowest to fix, problems small businesses have.
- Switch Instagram and TikTok to business or creator accounts, so you can see who your followers are and how each post did.
- Write the same short bio everywhere, with your website link tagged with UTMs (step 5), so you can see which profile sends visitors.
Then don't try to be everywhere
Claiming a name is free. Posting on seven networks is a full-time job. Pick one or two networks where your customers already are (step 6 tells you which), post there consistently, and leave the rest parked with a bio and a link. Consistency on one channel beats silence on seven.
5. Set up measurement before you spend anything
This is the part beginners skip, and it's the one that decides whether your marketing money teaches you anything. Without it you'll know you got 40 sales last month, but not which post, page or ad brought them.
Google Analytics 4
- Create a GA4 property at analytics.google.com and add the tag to every page, directly or through Google Tag Manager.
- Change data retention to 14 months (Admin → Data collection and modification → Data retention). The default is 2 months, which limits how far back your detailed reports can look.
- Send the events that matter, using GA4's recommended names:
sign_up,generate_lead(a form or booked call),begin_checkoutandpurchasewith its value. Mark them as key events. - Exclude your own visits with an internal traffic filter, so your testing doesn't count as customers.
- Link GA4 to Search Console and Google Ads (Admin → Product links).
Search Console and Bing
- Verify your site in Google Search Console and submit your sitemap. This is where you see the exact searches people use to find you.
- Import the site into Bing Webmaster Tools straight from Search Console. It takes a minute; Bing also feeds several AI search tools.
See what visitors actually do
- Add Microsoft Clarity (free). Watching ten session recordings of real visitors on your pricing page teaches you more than any report.
Ad platform tracking
Install these now even if you won't run ads for months. The pixels start building audiences from day one, and you can retarget those visitors later.
- The Meta pixel, created in Meta Events Manager, with the same events as GA4 (
Lead,InitiateCheckout,Purchasewith value). - The Conversions API alongside the pixel, so Meta still sees purchases that browsers and ad blockers hide. Shopify, WooCommerce and most site builders have a built-in integration.
- The Google Ads tag and conversion actions, or import your GA4 key events into Google Ads. Turn on enhanced conversions for better matching.
- Consent mode if you have EU or UK visitors, so tags respect the cookie banner from step 3.
UTMs on every link
- Tag every link you share with
utm_source,utm_mediumandutm_campaign: social bios, posts, emails, partner links, ads. Untagged clicks land in "direct" or "referral", and nobody gets credit. - Pick one naming style and write it down: always lowercase,
instagramnotIGorInstagram. Mixed spellings split one channel into three rows.
Test it all
- Make a real purchase or sign-up and watch it arrive in GA4 DebugView, Meta's Test events tab and Google Ads' tag diagnostics. Check the value matches what you charged. Our tracking checklist covers the common breakages.
6. Find where your customers actually are
Here's the question every other step serves: who exactly buys, and where do they already spend their time? Most beginners guess ("everyone's on TikTok") and spend months shouting into the wrong room. Work it out instead.
Describe the buyer in one sentence
Not "small businesses" or "women 25 to 45". Something specific enough to find:
"Independent yoga teachers who run their own classes, lose bookings to no-shows, and currently take payments by bank transfer."
Write down four things: who they are, the problem that costs them money or time, what they use today instead of you, and who pays (in a business, the user and the buyer are often different people).
Before you have traffic: go look
- Talk to ten people who fit the sentence. Not a survey: a 15-minute call. Ask: When this problem last came up, what did you do? What did you search for? Where do you ask for advice? Who do you follow or read about your work? The same three or four places will come up again and again. That's your channel list.
- Search their words, not yours. Type the problem the way they described it into Google, YouTube, TikTok and Reddit. See who ranks, which videos have the views and which threads have the comments.
- Check search demand in Google Ads' Keyword Planner (free with an ad account). If thousands of people a month search for the problem, search (SEO and Google Ads) is a channel. If nobody does, you'll need to reach people where they hang out instead.
- See where competitors spend. The Meta Ad Library shows every ad running on Facebook and Instagram. Ads that have run for months are the ones that work. Look at which networks competitors post on most, and which of their posts get real comments (not just likes).
- Find the communities: subreddits, Facebook groups, Discord servers, Slack groups, forums, newsletters, podcasts and events your buyers named. Join, read the rules and help before you ever mention your product.
A rough starting map:
| If you sell to… | Look first at |
|---|---|
| Businesses (B2B software, services) | Google search, LinkedIn, industry communities and newsletters, direct outreach |
| Consumers (products, apps) | Instagram, TikTok, YouTube, Meta ads, Pinterest for anything visual |
| Local customers | Google search and Maps, reviews, local Facebook groups, Nextdoor |
| Developers and technical buyers | Google search, GitHub, Reddit, Hacker News, X |
| Mobile app users | App Store and Google Play search, TikTok, short video, Apple Ads |
Treat the map as a place to start, then trust your ten conversations over it.
Once you have traffic: let the numbers tell you
- Ask every customer "How did you hear about us?" as a field on sign-up or checkout, with an "other" box. Word of mouth, podcasts and private groups never show up in analytics; people will tell you if you ask.
- In GA4, open Reports → Acquisition → Traffic acquisition and switch the table to show your key events. Sort by purchases, not sessions. The channel that sends the most visitors is often not the one that sends buyers.
- Look at who the buyers are: country, city, device, and (with Google signals turned on) age and interests, under Reports → User → User attributes. Compare buyers with all visitors, not just the totals.
- Read your Search Console queries. The searches that bring visitors who buy tell you which words your customers use and which pages to write next.
- Compare your best customers with the rest. Pull your top 20 customers by revenue. What do they have in common: where they came from, what they bought first, what job title or kind of business? That's the customer to find more of.
Then put most of your effort into the one or two places that bring paying customers, and test one new place at a time.
7. Open your ad accounts
Set them up now, while you have time to verify everything calmly. Running ads comes later, once the steps above are working.
Google Ads
- Create the account at ads.google.com in Expert mode. The signup steers you into a "Smart" campaign. Switch to Expert mode during setup (the link is near the bottom), or you lose control of keywords and where your ads show.
- Add billing with your business card and your business details.
- Link GA4 and import your key events as conversions, or use the Google Ads tag from step 5. Make sure purchase is the main conversion, with its value.
- Complete advertiser verification when Google asks for it; ads can pause until it's done.
- When you start: Search campaigns on high-intent keywords (the problem, "[competitor] alternative", "best [category] for [buyer]"), a small daily budget, and the search terms report checked weekly.
Meta (Facebook and Instagram)
- Create a Business Portfolio at business.facebook.com and add your Facebook Page and Instagram account to it.
- Create an ad account inside the portfolio, add your business card, and set the right time zone and currency. Neither can be changed later.
- Connect the pixel (step 5) to the ad account, and verify your domain in Business Settings → Brand safety → Domains.
- Add a second admin and turn on two-factor sign-in for everyone. Meta accounts get locked, and a backup admin is often the only quick way back in.
- When you start: one campaign optimized for purchases or leads, not traffic or engagement, with a few different creatives, and retargeting of recent site visitors as an early, cheap test. Our guide to retargeting by recency shows how to split it.
Others, only if your buyers are there
- Microsoft Ads: import your Google campaigns in a few clicks; often cheaper clicks.
- LinkedIn Campaign Manager: for B2B buyers by job title and company. Expensive per click, so start with a clear offer.
- TikTok Ads Manager: for consumer products with good short videos.
- Apple Ads: for iOS apps. Our post on where to spend your first $500 on app installs compares the app channels.
Rules for the first paid test
- Decide the stop line before you start: the most you'll spend in total, and the cost per paying customer at which you pause.
- Judge on paying customers, not clicks, likes or cheap sign-ups who never pay.
- Change one thing at a time and give it a week, so you know what made the difference.
- Don't treat the "Boost post" button as your ad strategy. It optimizes for engagement, not sales.
8. Start your email list
People rarely buy on the first visit. Email is how you get the second and third chance, and it's the one audience no platform can take away from you.
- Pick an email tool: Klaviyo for online stores, Mailchimp or Brevo for most small businesses, a developer tool like Resend for apps.
- Authenticate your sending domain in the tool (the same SPF, DKIM and DMARC work from step 3).
- Add a sign-up form to the site with a clear reason to join: a discount, a guide, early access.
- Set up a welcome email that goes out right away, before you write a single newsletter. Our post on the first four email flows covers what to send next.
- Only email people who agreed to it, and keep the unsubscribe link in every email.
9. Keep a weekly hour
Setup is a one-time job. Marketing is a habit. Block one hour a week:
| Check | Where | What to do with it |
|---|---|---|
| Visitors, sign-ups, purchases, cancellations | GA4 and your payment tool | Find the step with the biggest drop and work on that one |
| Which channels bring buyers | GA4 traffic acquisition and "How did you hear about us?" | Do more of what brings buyers, less of what brings browsers |
| Searches at positions 8 to 20 | Search Console | Improve those pages, or write the page that's missing |
| Ad spend against your stop line | Google Ads and Meta Ads Manager | Pause what's over the line, add budget to what's under it |
| Why people cancelled or refunded | Cancellation reasons, support inbox | Fix the top reason, or answer it on your site |
| Upcoming deadlines | Your calendar | Annual report, renewals, tax payments |
The short version
- Form the company, get the EIN, open a business bank account and keep the books from day one.
- Take payments with a tool that fits what you sell, and test a real purchase and refund.
- Get a domain, email on that domain with SPF, DKIM and DMARC, a clear website and the legal pages.
- Claim your name on every social network, then post on the one or two where your buyers are.
- Install GA4, Search Console, Clarity, the Meta pixel and the Google Ads tag, put UTMs on every link, and test with a real purchase.
- Describe your buyer in one sentence, talk to ten of them, and follow the paying customers in your data.
- Open your Google and Meta ad accounts properly, then run one small test with a stop line.
- Start an email list with a welcome email.
- Spend one hour a week on the numbers.
Where MarketingBuddy fits
Once the accounts exist, MarketingBuddy connects to them. It reads Google Analytics, Search Console, your payments and your ad accounts, shows which channels bring paying customers, and its AI agents do the weekly work: writing the articles and emails, preparing social posts, and running small ad tests inside the budget and stop lines you set. Nothing is posted, sent or spent until you approve it.
- Startups
- LLC
- Stripe
- Google Analytics
- Google Ads
- Meta Ads
- Social media
- Checklist
Let your AI run the marketing. You keep the final say.
Connect your ads, analytics, store and email, and approve every change before it goes out.